

Create widget
Creates a WordPress widget and starts workflow to display a widget content
Create custom WordPress widget with workflow
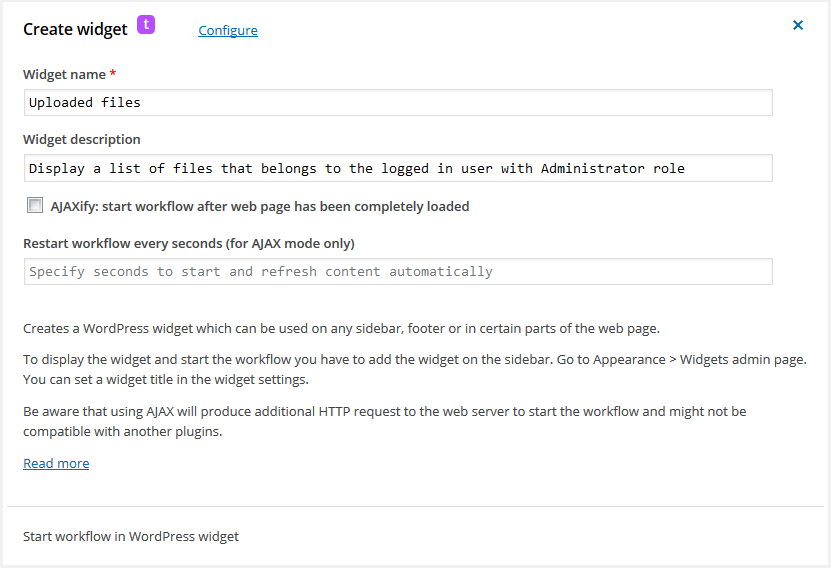
This trigger creates custom WordPress widget which can be used on any sidebar, footer or in certain parts of the web page. It looks like an ordinary widget except one thing: it’s backed up by the workflow. All output/content that will be produced by the workflow will be shown in a widget. Some of those useful actions that can create and display content: Generate HTML or Display it.
Custom WordPress widget
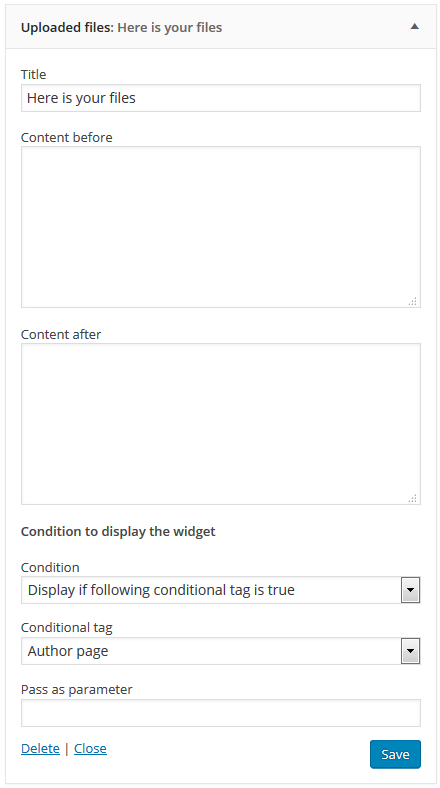
To display the widget on the web page and start the workflow you have to add the widget on the sidebar like you do that with an ordinary widget. Go to Appearance > Widgets WordPress Dashboard page. You can set a widget title in the widget settings. You can set the Title of the widget, static content that will never be changed by the workflow and will be displayed statically above and below the workflow generated content.
Display widget conditionally
Conditions to display and workflow restrictions on execution connected together give you amazing flexibility. You can display widget conditionally like display it on a category page, particular post page or any other condition from the Conditional tag drop-down list. Additionally you can set restriction on execution the workflow (and displaying widget accordingly) via Restrictions settings in the workflow editor like allowing execute workflow and display widget, for instance, only to logged in user with a specified WordPress role.
Display widget via AJAX
Optionally you can enable an AJAX mode. In this mode the workflow will be started and all content generated by the workflow will be displayed after a web page has been completely loaded in a user browser. It allows to speed up rendering the web page if the workflow(s) requires some time to generate content and allows user to interact with Easy Forms without reloading the whole web page.
Now AJAX works in details
- WordPress generates web page on user request and creates all widgets except the jetFlow widget. The jetFlow widget is empty, workflow is not started at that step.
- After page has been completely loaded and rendered, user’s browser makes a second HTTP request to the web server (website).
- Workflow starts, performs all actions, produces some output/content and sends it back to the browser.
- Browser displays received content in the widget part of the page.
If you have enabled AJAX mode you can optionally enable an automatic restart the workflow with specified period in seconds. That allows to update content in a widget automatically without reloading the whole web page. To enable the automatic restart you have to specify greater than zero amount of seconds.
Note: Using AJAX will produce additional HTTP request to the web server to start the workflow and get the content. It might not be compatible with another plugins.
Note: AJAX mode is not compatible with third-party form plugins like Gravity Forms, Caldera Forms and Ninja Forms because they have their own AJAX engine.